
Old floor glue makes renovation harder than expected.
You lift flooring expecting clean concrete, but instead find sticky patches, hard ridges, black residue, yellow adhesive, or a stubborn layer that won’t budge.
For DIY renovators, this can be frustrating. But old adhesive is not just an inconvenience. If left behind, it can prevent new flooring products from bonding properly, create uneven surfaces, trap dust, and affect the final finish.
The good news is that you can remove glue from concrete with the right approach. The key is to identify what you are dealing with, choose a safe removal method, and prepare the concrete properly before installing the next floor covering.
Why Old Floor Glue Needs to Be Removed
Concrete may look tough, but flooring systems depend on the surface being clean, sound, and suitable for bonding.
Old adhesive can create several problems. It may prevent tile adhesive, levelling compound, floor coatings, or new glue from sticking properly. It may also leave bumps or ridges that show through flexible flooring such as vinyl or hybrid planks.
Even if the old glue feels dry, it can still interfere with new materials. Some adhesives soften when exposed to moisture or when new products are added. Others become brittle and break away under pressure.
Removing old glue gives your new flooring a better chance of lasting.
Start by Identifying the Glue
Before attacking the floor with tools or chemicals, take a closer look at the adhesive.
Different types of glue behave differently. Some are soft and tacky. Some are hard and brittle. Some scrape away in flakes. Others smear when warmed or exposed to moisture.
Common adhesive types include old carpet glue, vinyl adhesive, tile glue, pressure-sensitive adhesive, contact adhesive, and black mastic. Older black adhesive may contain asbestos, especially in homes built or renovated several decades ago.
Asbestos NSW states that 1 in 3 houses in NSW constructed or renovated between 1945 and 1990 are estimated to contain asbestos. For DIY renovators, this is a clear reason to treat old adhesives, vinyl residue, and unknown floor layers with caution before scraping, sanding, or grinding.
If the glue is black, tar-like, or from an older floor system, do not sand, grind, or scrape it aggressively until you know it is safe to do so. Testing may be needed before removal. This is one of those moments where caution is part of good DIY practice.
Safety Comes First
Glue removal can create dust, fumes, sharp debris, and chemical exposure. Before you begin, set up the work area properly.
Wear gloves, eye protection, long sleeves, and a suitable respirator or dust mask depending on the method you are using. Keep the room ventilated, especially if using chemical adhesive removers. Protect nearby surfaces, remove loose items, and keep children and pets away from the work area.
If you are using a grinder, scraper, or other powered tool, follow the manufacturer’s safety instructions. Concrete dust can be harmful, so dust extraction is important.
Avoid faster methods if they create unnecessary risk.
Method 1: Scrape the Glue by Hand
For smaller areas, hand scraping is often the simplest place to start.
Use a heavy-duty floor scraper, putty knife, or long-handled scraper to lift loose adhesive from the concrete. Work at a low angle and push steadily rather than stabbing at the surface. A sharp blade can make a big difference, so replace it when it becomes dull.
This method works well for brittle adhesive, small glue patches, and areas where the bond has already weakene
d.
Hand scraping takes patience but gives you full control and keeps dust to a minimum.
Method 2: Soften the Adhesive
Some adhesives respond better when softened first.
Warm water can help loosen certain water-based glues. Apply a small amount, allow it to sit briefly, then scrape the area while the adhesive is softened. Avoid flooding the concrete, especially if moisture may affect nearby walls, cabinetry, or adjoining rooms.
For tougher glue, a heat gun may help soften the adhesive enough to scrape it off. Keep the heat moving and avoid overheating one spot. Heat
can release fumes from some adhesives, so ventilation and respiratory protection matter.
This method works best when the glue softens rather than turns into a sticky mess. Always test a small area first.
Method 3: Use an Adhesive Remover
Chemical adhesive removers can be useful for stubborn glue, but they need to be used carefully.
Choose a product suitable for concrete and for the type of adhesive you are removing. Read the label before use, including safety instructions, dwell time, ventilation requirements, cleanup directions, and disposal guidance.
Apply the remover as directed, allow it to work, then scrape away the softened adhesive. Afterward, the concrete may need thorough cleaning to remove chemical residue. This step is important because leftover remover can interfere with primers, levelling compounds, tile adhesives, or floor coatings.
Chemical removers can save effort, but they should not create a new bonding problem.
Method 4: Grind the Surface
Grinding can be effective for hard adhesive residue, high spots, and thin layers that will not scrape away.
Use a concrete grinder with the correct disc or cup wheel, along with proper dust extraction. This method can quickly remove residue and create a cleaner surface for new flooring preparation.
However, grinding is not suitable for every situation. It should not be used on unknown old black adhesive unless asbestos has been ruled out. It can also create dust, noise, and surface damage if done incorrectly.
For larger areas, hiring professional equipment or a floor preparation contractor may be the smarter option.
Method 5: Use a Floor Stripper for Large Areas
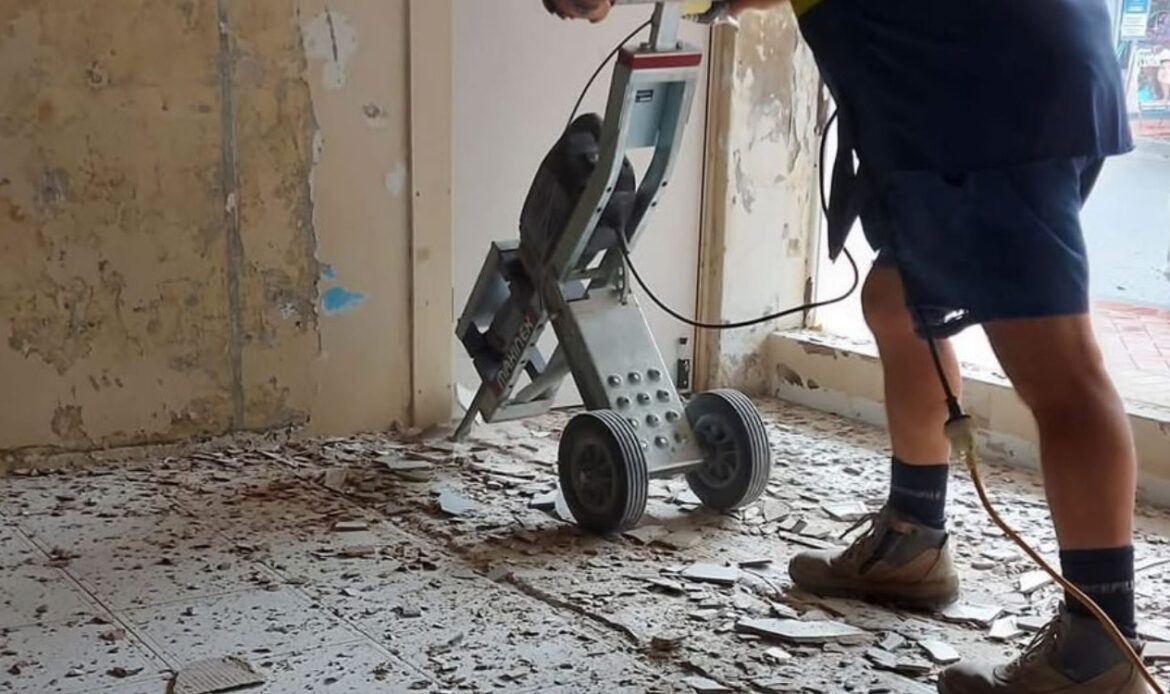
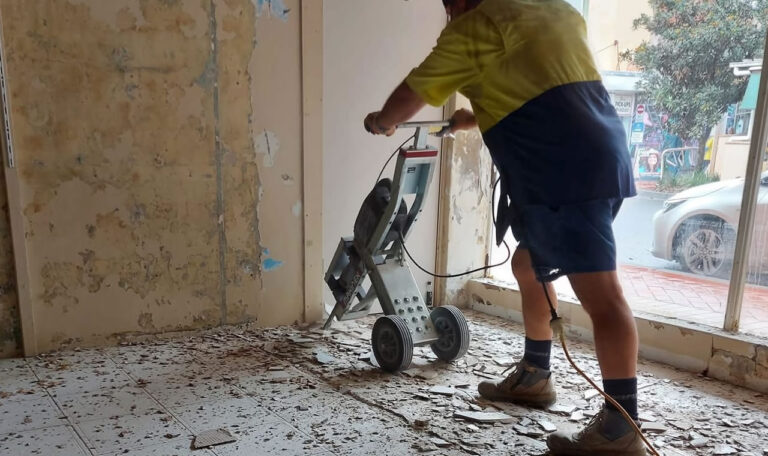
For larger renovation projects, a floor stripping machine can speed up and make glue removal more consistent.
These machines use a blade to lift old adhesive and flooring residue from the concrete. They are commonly hired for larger rooms, commercial spaces, or projects where hand scraping would take too long.
A floor stripper works best when the adhesive is thick enough to lift, and the concrete surface is reasonably sound. It may still leave residue that needs scraping, grinding, or cleaning afterward.
For DIY renovators, this method can reduce manual labour, but it requires care, strength, and safe handling.
What Not to Do When Removing Glue
There are a few shortcuts that can make the job worse.
Do not install new flooring over loose, sticky, or uneven adhesive unless the flooring manufacturer specifically allows it. Do not grind unknown adhesive from an older property without checking for asbestos risk. Do not use random solvents that may leave oily residue in the concrete. Do not flood the slab with water and assume it will dry quickly enough for new flooring.
It is also important not to rush into the next stage. Concrete may look clean, but it still retains moisture, residue, or contamination that can affect bonding.
Good glue removal is not just about getting the visible mess off the floor. It is about leaving the concrete ready for the next flooring system.
How Clean Does the Concrete Need to Be?
The answer depends on what you are installing next.
Tiles, vinyl, hybrid flooring, timber, epoxy coatings, and levelling compounds all have different requirements. Some systems need bare, clean concrete. Others may allow small amounts of well-bonded residue if the surface is sound and compatible with the new product.
As a general rule, remove anything loose, soft, flaky, sticky, powdery, oily, or uneven. The surface should be firm, clean, dry, and free from materials that could weaken the bond.
When in doubt, check the flooring product instructions. The new floor will only perform as well as the surface below it.
Clean the Concrete After Glue Removal
Once the glue has been removed, the concrete still needs final preparation.
Sweep and vacuum thoroughly to remove dust and debris. If a chemical remover was used, clean the surface according to the product instructions. Allow the concrete to dry fully before applying primer, patching compound, levelling compound, adhesive, or coatings.
Check the surface for remaining ridges, low spots, cracks, or damaged areas. These should be repaired before the new flooring goes down.
Glue removal often reveals the true condition of the concrete. That is useful information, not bad news.
When to Call a Professional
Some glue removal jobs are straightforward. Others are better handled by a professional.
Consider expert help if the adhesive may contain asbestos, the area is large, the glue is extremely hard, the concrete needs grinding, or the new flooring requires a very flat and clean surface. Professional floor preparation can also be worthwhile if you are installing tiles, polished concrete, epoxy, or large-format flooring where surface quality matters.
A professional can test, remove, grind, repair, and prepare the slab using the right equipment. That can save time and reduce the risk of damaging the concrete.
DIY Glue Removal Checklist
Before installing new flooring, check that the concrete is clean, dry, firm, and free from loose adhesive, sticky patches, dust, chemical residue, high spots, and surface contamination.
You should also confirm that any old adhesive is safe to remove, the concrete has dried properly, and the surface meets the requirements of the new flooring product.
This checklist may feel basic, but it is what separates a rushed renovation from a reliable one.
Get Your Concrete Floor Ready for a Clean New Finish
Old floor glue can be stubborn, but it does not have to stop your renovation.
The best way to remove glue from concrete is to work methodically. Identify the adhesive, choose the safest removal method, protect yourself, clean the slab thoroughly, and ensure the surface is ready for the next flooring layer.