
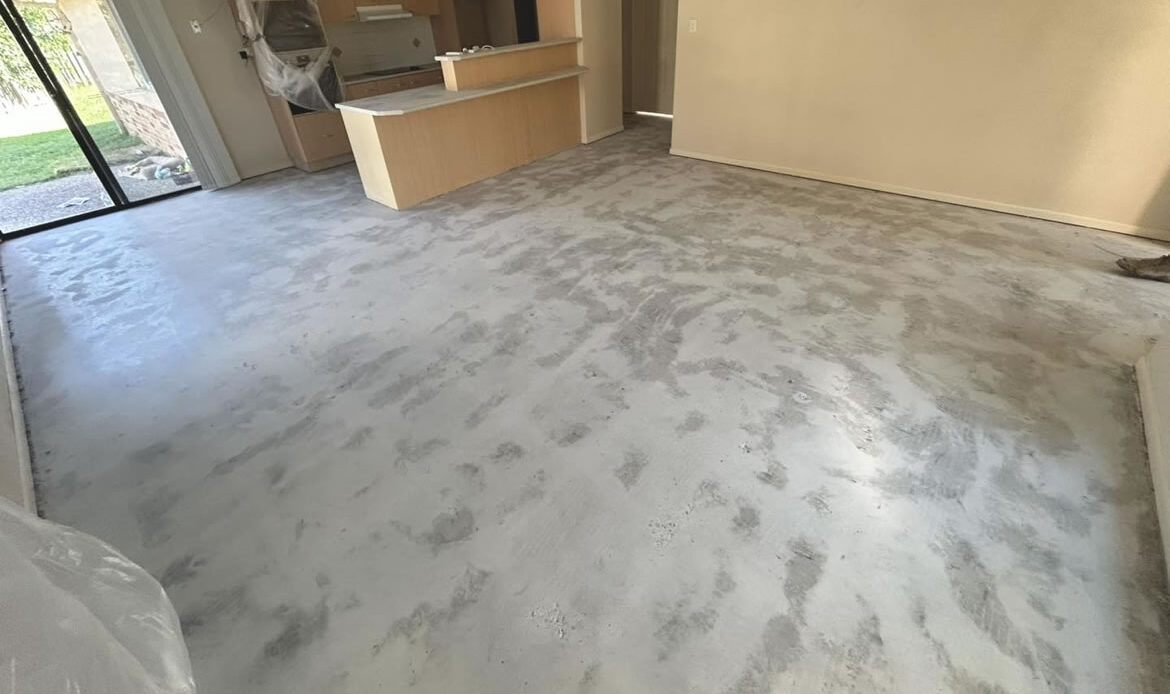
When it comes to flooring performance, concrete surface preparation is where the job is won or lost. Builders and contractors understand that finishes are only as reliable as the substrate beneath them. Yet on fast moving projects, concrete prep is often rushed, simplified, or partially skipped in the name of efficiency.
The reality is straightforward. No adhesive, tile, coating, or levelling compound will perform correctly if the concrete surface is not properly prepared.
Whether you are installing tiles, hybrid flooring, timber overlays, epoxy coatings, or polished concrete systems, this guide outlines the best methods for prepping concrete before flooring. These are the non negotiable steps that experienced professionals follow to avoid failures, call backs, and warranty disputes.
Why Concrete Surface Preparation Is Critical
Concrete slabs are rarely perfect. Even newly poured slabs can present:
- Surface laitance
- Trowel burnishing
- High and low spots
- Moisture imbalance
- Shrinkage cracking
- Construction debris contamination
Older slabs often include:
- Tile adhesive residue
- Carpet glue
- Paint
- Epoxy coatings
- Waterproofing membranes
Installing flooring over contaminated or uneven concrete compromises bond strength and long term durability. Proper concrete surface preparation ensures that adhesives chemically and mechanically bond to the slab as intended.
Step 1: Assess the Concrete Slab Properly
Before grinding or patching begins, conduct a full slab assessment.
Check Flatness and Level
Use a long straight edge or laser level to identify high and low spots. Most flooring systems specify strict flatness tolerances. Large format tiles and rigid planks are especially sensitive to deviations.
Mark all variations clearly before proceeding.
Inspect for Cracks
Identify whether cracks are:
- Hairline shrinkage cracks
- Structural movement cracks
- Active expansion cracks
Understanding the crack type determines the appropriate repair method. Ignoring crack classification is a common oversight.
Conduct Moisture Testing
Concrete may appear dry while still holding excessive moisture. Moisture testing is essential before applying adhesives or levelling compounds.
Excess moisture can cause:
- Adhesive failure
- Blistering
- Efflorescence
- Timber warping
- Coating delamination
Professional concrete surface preparation always includes moisture assessment before proceeding.
Step 2: Remove Surface Contaminants
Concrete must be clean, porous, and structurally sound before flooring installation.
Mechanical Grinding
Mechanical grinding is the preferred method for prepping concrete. It removes:
- Adhesive residue
- Paint
- Epoxy
- Surface laitance
- Weak or dusty surface layers
Grinding also opens the pores of the slab, creating a suitable bonding profile. Surface profile is critical for adhesive and compound performance.
Relying on chemical stripping or scraping alone rarely achieves the same bonding results.
Shot Blasting for Heavy Duty Applications
For commercial and industrial projects, shot blasting may be required to create an even surface profile. This method is especially effective before epoxy or polyurethane coatings.
Builders managing high traffic commercial builds often choose shot blasting for its consistency.
Dust Control and Extraction
Dust left on the slab weakens bonding. Professional preparation includes industrial vacuum systems connected directly to grinding equipment.
A clean, dust free surface is mandatory before priming.
Step 3: Address Structural Defects
Surface cleaning alone does not correct structural defects.
Crack Repair
Cracks must be treated appropriately:
- Clean out debris from the crack.
- Use epoxy or flexible repair compounds depending on crack type.
- Consider crack isolation membranes when installing tiles.
Skipping crack repair increases the likelihood of reflective cracking.
Repair Weak or Crumbling Areas
Remove loose or deteriorated concrete. Patch with high strength repair compounds to restore structural integrity.
Applying levelling compound over weak concrete does not strengthen the substrate. The base must be solid before levelling begins.
Step 4: Correct Flatness and Surface Profile
Even minor deviations in flatness can cause flooring problems.
Grinding High Spots
High spots should be mechanically reduced to meet tolerances. Attempting to fill around high points without reducing them increases material usage and may create bonding inconsistencies.
Applying Levelling Compound
Low areas should be corrected using suitable self levelling compounds.
Key considerations include:
- Primer compatibility
- Correct mixing ratios
- Environmental conditions
- Specified curing times
Levelling compound is not a substitute for grinding. It is a correction tool used after proper surface profiling.
Step 5: Prime the Surface Correctly
Primer improves adhesion between concrete and levelling compounds or adhesives.
Common mistakes include:
- Skipping primer
- Using incorrect primer type
- Applying primer unevenly
- Installing too soon before drying
Each flooring system has specific primer requirements. Builders and contractors should always verify manufacturer compatibility.
Step 6: Confirm Moisture and Environmental Conditions
Before flooring installation begins, confirm that:
- Moisture levels remain within tolerance
- Levelling compound has fully cured
- Surface is clean and dust free
- Ambient temperature meets manufacturer specifications
Environmental conditions significantly affect adhesive performance. Humidity, temperature, and ventilation must be controlled on site.
Common Concrete Prep Mistakes Builders Should Avoid
Even experienced teams occasionally overlook critical preparation details. These are the most common issues seen in commercial and residential builds.
Rushing the Preparation Stage
Time pressure often leads to incomplete grinding or insufficient curing time. Concrete preparation requires patience to achieve long term performance.
Ignoring Manufacturer Specifications
Every adhesive and flooring system has strict installation guidelines. Skipping surface profile requirements or moisture limits may void warranties.
Underestimating Moisture Risk
Moisture related failures are among the most expensive flooring issues to rectify. Proper testing protects against call backs and disputes.
Failing to Use Professional Equipment
Handheld grinders and basic tools may suffice for small areas, but large slabs require industrial grade equipment for consistent results.
Inconsistent preparation across a slab leads to uneven bonding performance.
Best Practices for Builders and Contractors
Professional concrete surface preparation should follow a structured system:
- Inspect and document slab condition.
- Conduct moisture testing.
- Mechanically grind to remove contaminants and achieve profile.
- Repair cracks and weak areas.
- Prime appropriately.
- Apply levelling compound where necessary.
- Confirm curing and environmental compliance.
- Perform final clean before installation.
Documenting each step protects your project and demonstrates due diligence.
Why Concrete Prep Is a Risk Management Strategy
For builders and contractors, preparation is not just about technical compliance. It is about reducing risk.
- Proper concrete surface preparation:
- Minimises warranty claims
- Prevents costly rework
- Protects project timelines
- Maintains professional reputation
- Ensures client satisfaction
According to the Cladding Safety Victoria, nearly 50% of buildings assessed had non-cladding defects, and close to 80% of those were linked to water or moisture-related structural damage. This highlights how critical proper moisture control and surface preparation are in preventing widespread building issues.
Flooring failures often become disputes between trades. Clear preparation protocols reduce liability and ensure accountability.
When to Engage Specialist Preparation Teams
On complex commercial projects or large scale residential builds, engaging a dedicated preparation team can improve efficiency and quality control.
Specialists bring:
- Industrial grinding equipment
- Dust control systems
- Accurate moisture testing tools
- Technical expertise in crack repair and levelling systems
Outsourcing concrete prep allows flooring installers to work on a properly prepared substrate without compromise.
Get Your Concrete Floor Prep Done Right from the Start
Concrete floor prep is not a background task. It is the structural foundation that determines whether flooring performs as specified.
Builders and contractors who prioritise proper concrete surface preparation reduce risk, protect project timelines, and ensure long term performance.
If you want your concrete slab prepared correctly from the outset, we are ready to assist. At Total Prep Floor Solutions, we specialise in professional concrete surface preparation for builders and contractors who demand consistent, compliant results.
Contact us at Total Prep Floor Solutions today to discuss your project requirements. We will ensure your concrete floor prep is completed properly so your flooring system performs exactly as intended.